
Bicycling is a popular way to get around, but the seat can be uncomfortable. Changing the bike seat can make your ride more comfortable. Here’s how to change a bike seat ?
Changing your bike’s seat may seem like a daunting task, and admittedly, it’s not as easy as flipping a light switch. But with these simple steps, you can be on your way to a much more comfortable ride in no time at all! So gather up your tools and let’s get started.

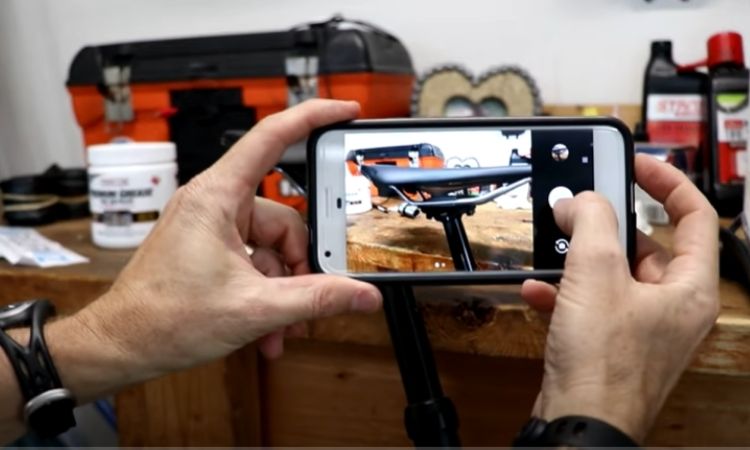
Some steps how to attach a bike seat to a post
Bike seat is an essential part of biking. Without this seat you cannot enjoy the ride on the road because you will not be able to stay for a long time on your bike. To know how to change a bike seat at, step-by-step instructions are given below:
Step 1. Unfasten the old seat
First of all, you need to keep your bike steady and level because otherwise it will be difficult for you to move around. Then find the screws of the old seat and undo them so that you can detach this part from your bike’s post or frame. Do not forget to keep this removed part safely as it is required in next steps.
Step 2. Remove the old bike seat .
Holding the new saddle, lean on a wall and press down about halfway on both sides. You need to hold at least 15 minutes or until you feel muscle fatigue in your arms, legs shoulders and back muscles before continuing with other steps:
Keep one hand under the cushioned part of the seat so that it will not flip open and pin your hand or fingers.
If you have a plastic seat, you can try pushing from side to side so as to break the connection between hinges.
In this step, if you have discovered that your saddle is glued into place then putting a rubber glove over your hand to protect your skin from glue oozing out, then pull up a corner of the old seat and remove it quickly.
Step 3. Lift and turn the top clamp to remove the seat
It has been observed that due to extensive use, some seats are fixed at an angle; they cannot be removed by pulling straight up with gloved hands because there is resistance against forward movement of stairs.
Instead, the angle must be reversed before a quick upward motion can break free the old seat.
Step 4. Clean the dirt and residue off the clamp
To clean this attachment point, wipe out all dirt and dust particles with cloth or paper towel by using water as solvent if required or else use gasoline mixed with kerosene (which should not pose any problem.
Because it evaporates quickly) to remove stubborn stains like oil and grease. After finishing this step keep your new seat ready for next steps:
New seats come with instructions on how to install them, but these instructions may not include pre-ride suggestions such as greasing bolts and applying lubricant on new posts (where applicable).
If you want to apply lube then first clean your bike seat post. Apply grease or lube on new bolts and wrap with plumber’s Teflon tape (plumber’s thread seal tape).
Step 5. Ready the new seat
Place the new saddle so that it is properly aligned to match your old seat, which you have removed earlier in this process. If necessary also adjust the angle of the seat before tightening screws completely so as to prevent any future issues while riding.
Hold back half of your weight with one hand while you tighten screw until it becomes difficult to turn anymore then finish by tightening the other side of that bolt too if required:
Before attaching a seat ensure that both posts are clean, dry and free of rust using wire brush, sandpaper/cloth/paper towel or solvent like water or gasoline.
Step 6. Grease the bolts and new seat rails with bike lube
Greasing the bolts will make them easier to turn and also prevent rust formation on your seat post:
Apply oil around top tube where seat rail attaches at head tube and where seat lug attaches to seat post:
Make sure that there is no obstruction between clamp and bike frame by looking from side view:
If you find any problem then remove it as soon as possible because this may lead to future issues too. Before putting down your bike, test fit your saddle by twisting back-and forth a few times just as you would if riding the bike.. If fitted correctly then you can now continue with next step.
Step 7. Set the saddle on the clamp .
Place the new seat on top of the clamp so that it is properly aligned and tighten down both side bolts securely with hex key screwdriver or Allen wrench. If you have already tightened screws then go to next step
Step 8. Tighten the clamp bolts in position.
If your seat has not been adjusted for angle yet, now is a good time before taking your bike forward to ensure that it sits level with frame:
If there are no issues then you can now move ahead with next step . You are done with this process :
Have a test ride after completing these steps and if everything seems fine then enjoy cycling! If still something is required to be done then do it as soon as possible before it becomes serious.
Step 9. Determine bike seat height how to change a bike seat
if you do not follow this step then your ride will be uncomfortable and also may cause injury in future too like back pain, neck pain or knee pain etc.
Step 10. Measure the seat post from the top of the saddle
There are various ways in which one can measure their seat height but they all can be classified into 4 main parts which are given below:
1) Using the old seat : There is no point in trying to use this method because it is very inaccurate. You can check against another object that is at right angles to the ground; if done correctly, it should read about half an inch lower than actual measurement (the angle between two objects should equal 90 degrees).
2) using the inside of the crankcase : Directly behind the pedal axle on most bikes is where you will find the “crankcase”. This is where your pedals are attached. If you measure from this point up to your seat post, you can determine roughly how much higher than your crankcase, your seat needs to be up to:
3) measuring right above center of bottom bracket
4) Measuring with laser or spirit level .
All these methods are just estimation if done without any accurate measurements then there may be difficulties in future like pain (back/neck/knee etc.), loss of control and accident too.
Step 11. Loosen the seat post bolt.
Do not forget to unclamp and unseat saddle from post before adjusting height by adding/removing spacers, and re-clamping and reseating the saddle:
Step 12. Adjust measurement of seat Position height
Turn the bike upside down if required so that your desired measurements fall on top of the bike frame itself: If you find any difficulty in doing steps as mentioned above then just ask for help from someone who knows how to adjust bike seat height properly.
Step 13. Adjust the seat Position
Tighten bolts as required:
Measurements should fall on top of bike frame itself now if they do not then move your adjustment bolts as required and re-measure for accuracy:
There is no point in riding a bike that does not fit you well because it will eventually cause pain which can be difficult to get rid off later also .
So it is better to take help from expert for correct measurements before investing money in new bike seat or bicycle parts :
Step 14. Tighten down the clamp bolts to lock the saddle in place.
It is advisable to test ride your bike after completing these steps because there are chances of future issues like back pain, neck pain and knee pain etc.
If you do not want to purchase new bike seat then what you can do is adjust your old bike seat correctly as per given instructions which will help you save money :
Can all bike seats be replaced?
Yes, it is possible to replace a seat which is old with the new one but if you do not know how to then better to take expert help or any person who knows how to change a bike seat height properly .
How do I take my bike seat off?
If you are doing this for the first time then can ask expert help or any person who knows how to adjust bike seat height properly so that they give you the exact instructions which will be helpful in future too.
Conclusion:
After reading the article above you will get to know how to change a bike seat and if you follow given instructions then it is hoped that you will be able to adjust your bike seat height easily.